Porcelain tile is more than just a durable surface; it’s a complete flooring system engineered to defeat the daily chaos of family kitchens with kids and dogs.
- Its near-zero porosity makes it virtually immune to common household stains like red wine and coffee.
- It pairs exceptionally well with underfloor heating, offering faster heat-up times and superior thermal efficiency compared to wood or LVT.
- Modern manufacturing delivers hyper-realistic wood and stone effects without the maintenance drawbacks of natural materials.
Recommendation: For a genuinely ‘bomb-proof’ floor, prioritize a rectified tile with at least an R10 slip rating and insist on using epoxy grout to eliminate staining and simplify cleaning.
The daily reality of a family kitchen is one of controlled chaos. It’s a battleground of spilled juice, dropped utensils, muddy paws, and endless foot traffic. When choosing a floor, the typical advice revolves around a simple checklist of “durable,” “water-resistant,” and “easy to clean.” Many materials, from luxury vinyl to engineered wood, claim to tick these boxes. This leads many homeowners to believe that the choice is merely a matter of aesthetic preference, overlooking the subtle but critical differences in long-term performance.
While natural stone offers beauty and real wood provides warmth, they come with inherent vulnerabilities—porosity that leads to stains and instability with temperature changes. This is where the standard advice often falls short. It presents porcelain tile as just another option on the list, failing to explain the science behind its resilience. But what if the key to a truly “bomb-proof” kitchen floor wasn’t just the material itself, but how it functions as part of an engineered system? The secret lies not in just picking porcelain, but in understanding how the right tile, the right grout, and the right installation techniques combine to create a surface that systematically defeats the rigours of family life.
This guide will deconstruct that system. We will move beyond the superficial pros and cons to explore the technical reasons for porcelain’s superior stain resistance, the professional methods for a flawless installation, and the critical role of grout. We’ll also analyze its thermal performance with underfloor heating and compare it directly to its main rivals, providing you with the specialist knowledge needed to invest in a floor that is not only beautiful but truly built to last.
This article provides a comprehensive look at why porcelain tile is a superior choice for demanding environments. Below, you will find a detailed breakdown of each key aspect, from its inherent material properties to its interaction with other kitchen design elements.
Summary: Why Porcelain Is the Strategic Choice for Family Kitchens
- Why Porcelain Resists Stains Better Than Natural Stone
- How to Cut 20mm Porcelain Pavers Without Chipping Edges
- Wood-Effect Porcelain vs Real Wood: Can You Tell the Difference?
- The Grout Colour Mistake That Makes Floors Look Dirty
- How Porcelain Tiles Improve Underfloor Heating Response Times
- Matt vs Gloss Cabinets: Which Is Easier to Clean with Kids?
- Solid Oak vs Engineered Oak: Which is Safe for Underfloor Heating?
- Herringbone vs Chevron: Which Parquet Style Suits a Modern Extension?
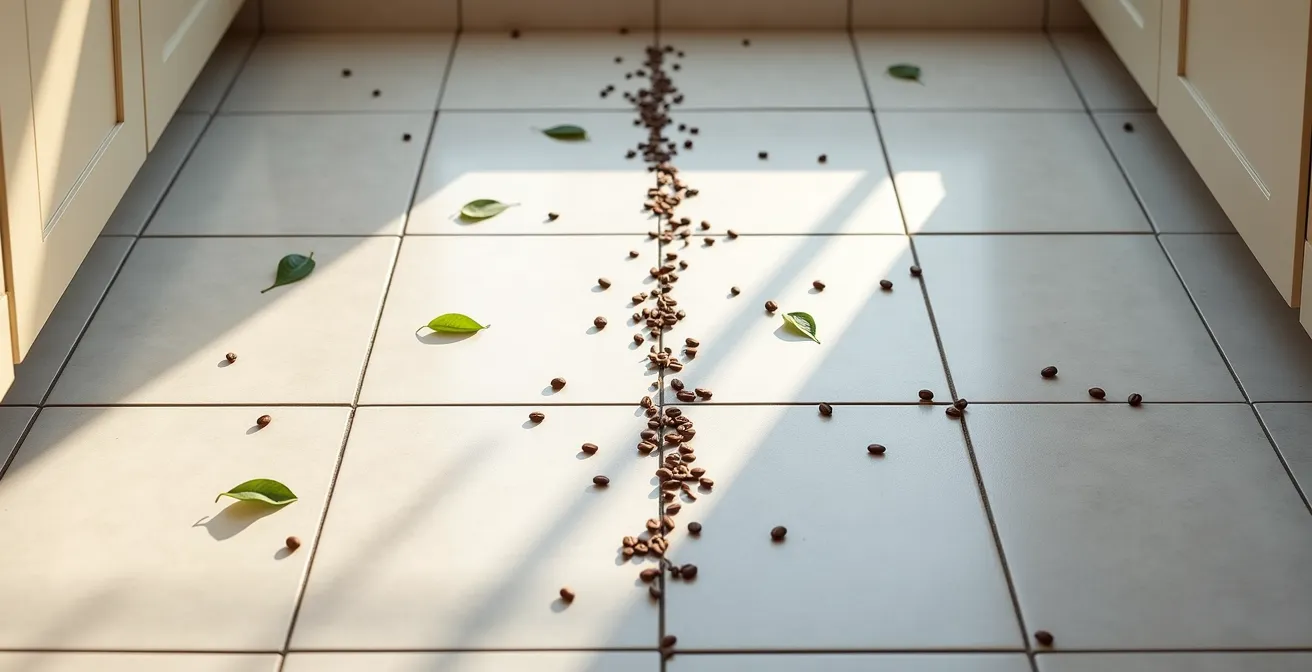
Why Porcelain Resists Stains Better Than Natural Stone
The primary reason porcelain outperforms natural stone in a high-traffic kitchen is a simple matter of physics: porosity. Natural materials like marble and unsealed granite have microscopic pores that act like sponges, absorbing liquids and leading to permanent stains. Porcelain, on the other hand, is made from finer, denser clay fired at extremely high temperatures. This process, known as vitrification, melts the clay into a glass-like substance with a water absorption rate of less than 0.5%. This makes the tile body itself virtually impervious to spills. While a puddle of red wine left overnight might spell disaster for a marble countertop, on a porcelain floor, it will simply sit on the surface waiting to be wiped away without a trace.
However, the tile is only one part of the system. The traditional weak point has always been the cement-based grout lines, which are porous and prone to discolouration. This is where modern grout technology becomes a critical component of a chaos-proof floor. As confirmed in technical applications, epoxy grout demonstrates exceptional performance with its resistance to chemicals and stains. Unlike cementitious grout, epoxy is a non-porous resin that cures to a hard, plastic-like finish, effectively sealing the joints against any spills and preventing mildew growth.
The following table, based on a 24-hour test, clearly illustrates the performance gap between materials when faced with common kitchen spills. It highlights how porcelain’s inherent non-porosity provides a level of stain resistance that even sealed natural stone cannot match.
| Material | Red Wine | Coffee | Mustard | Lemon Juice |
|---|---|---|---|---|
| Porcelain (unsealed) | No staining | No staining | No staining | No effect |
| Sealed Granite | Slight discoloration | Minor staining | Surface mark | Etching possible |
| Unsealed Marble | Deep staining | Permanent stain | Deep staining | Severe etching |
How to Cut 20mm Porcelain Pavers Without Chipping Edges
The same density that makes porcelain incredibly durable also makes it notoriously difficult to cut without the right technique and equipment. This is especially true for thick 20mm outdoor pavers. A common complaint is chipping or “flaking” along the cut edge, which ruins the professional finish. This isn’t a flaw in the material, but rather a result of incorrect cutting methods. The key to a clean cut is to relieve pressure on the tile’s glazed surface before cutting through the main body of the paver. Using a segmented “fast-cut” blade is a primary cause of micro-chipping; a continuous-rim diamond blade specifically designed for porcelain is non-negotiable.
This professional two-pass technique, executed with a wet saw, ensures a factory-perfect edge every time. It treats the hard, glazed surface and the dense body as two separate challenges to be tackled sequentially. This approach prevents the blade from creating stress fractures as it exits the material, which is the root cause of chipping. For any family considering extending their kitchen flooring onto a patio, mastering this ensures a seamless and high-quality transition.
The visual below shows the precision that can be achieved. Note the clean, sharp edge, which is the hallmark of a correct cut executed with the right blade and technique.
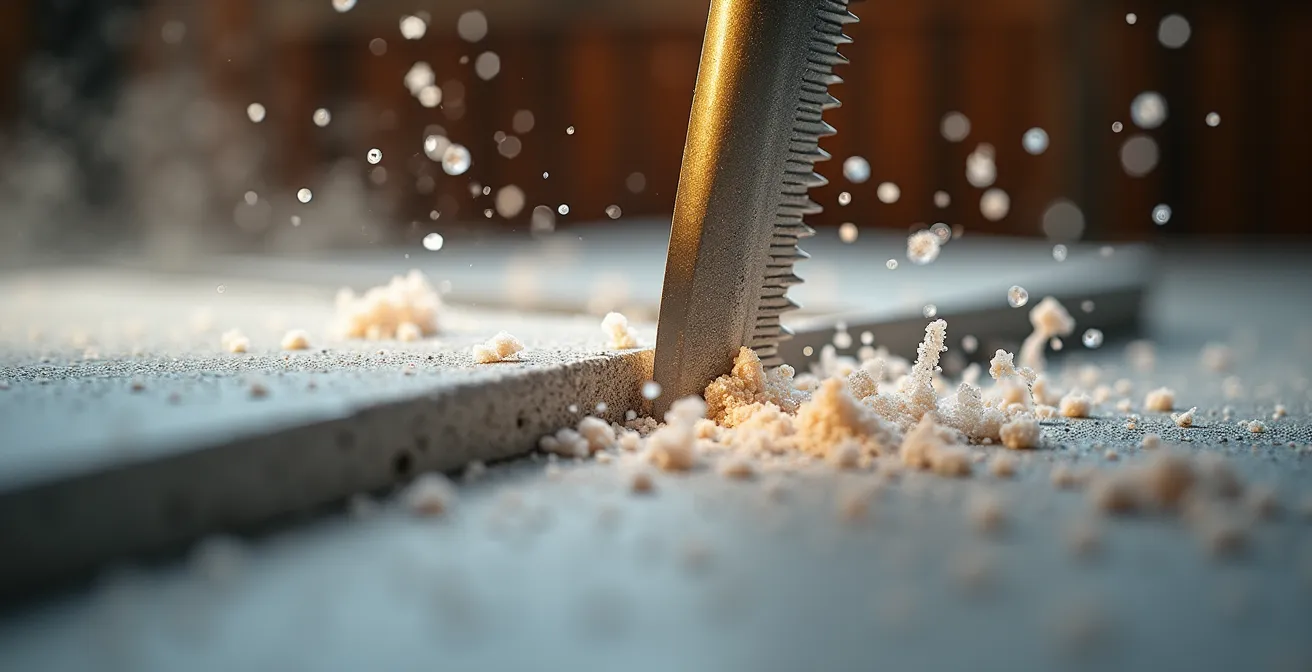
This level of detail is what separates an amateur finish from a professional installation. The investment in quality porcelain is only realised when the installation method matches the quality of the material.
Action Plan: The Two-Pass Cutting Technique for Porcelain
- Blade Selection: Equip your wet saw with a continuous-rim diamond blade specifically designed for hard porcelain. Segmented blades will cause chipping.
- First Scoring Pass: Set the blade depth to approximately 2-3mm. Make a slow, steady first pass to cleanly cut through the hard glazed surface only.
- Second Cutting Pass: After the initial score, lower the blade to cut through the full depth of the paver. This second pass follows the scored line, relieving pressure and preventing edge chipping.
- Blade Maintenance: Periodically “dress the blade” by running it through a soft abrasive block. This exposes fresh diamonds, restoring its cutting performance for consistently clean edges.
- Coolant Flow: Ensure a constant flow of water over the blade and tile. This minimizes dust, cools the blade, and helps produce a cleaner cut.
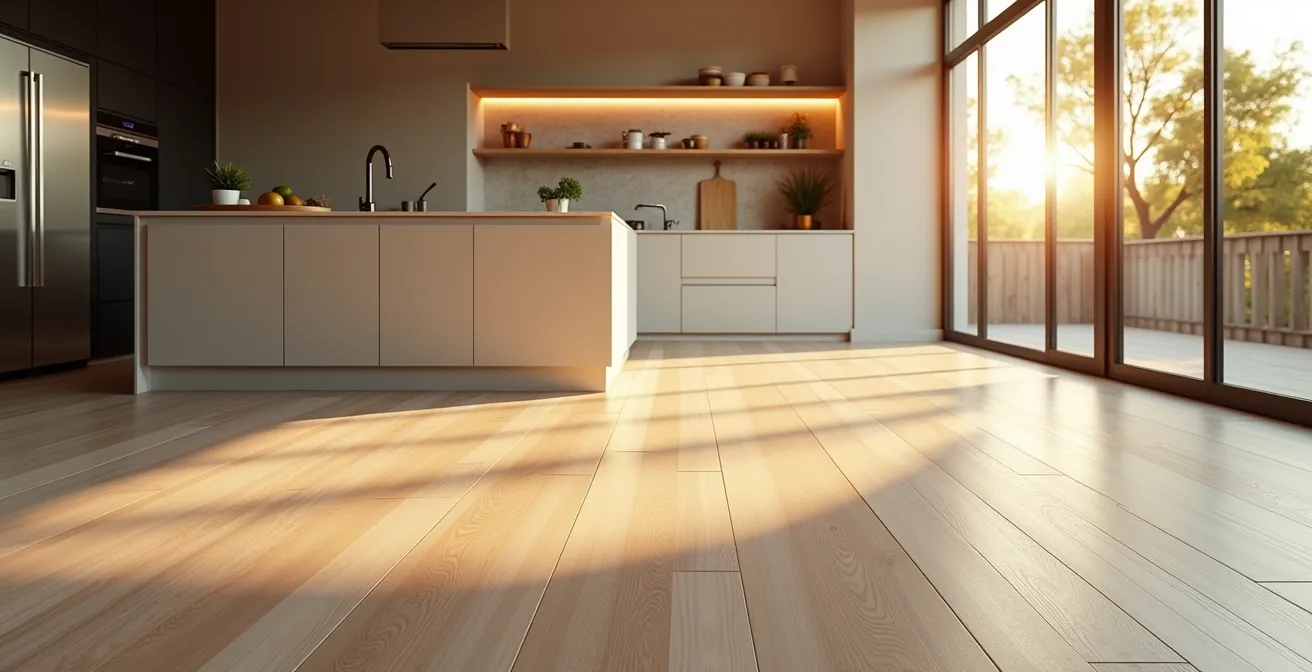
Wood-Effect Porcelain vs Real Wood: Can You Tell the Difference?
One of the biggest revolutions in tile manufacturing has been the development of high-definition digital printing. This technology allows producers to create porcelain tiles that are virtually indistinguishable from natural materials like wood. For families who love the aesthetic of a wood floor but dread the reality of scratches from dog claws or water damage from spills, wood-effect porcelain offers the perfect compromise. But not all wood-effect tiles are created equal. The difference between a convincing replica and an obvious fake lies in the details.
Top-tier porcelain tiles now feature textured finishes that match the printed grain, so the tile feels like wood underhand, not just looks like it. Furthermore, manufacturers use multiple unique patterns—often 20 or more per box—to avoid the repetitive “tiling” effect that immediately gives away a cheap imitation. The final piece of the puzzle is the use of rectified edges. These are tiles that have been precisely ground to size after firing, allowing for extremely thin grout lines (1-2mm). This minimal grout line mimics the seamless join between real wood planks, completing the illusion.
While the visual and practical mimicry is exceptional, there are inherent physical differences. Porcelain will always feel colder and harder underfoot than real wood, and it has different acoustic properties, which can create more echo in large, open-plan spaces. However, these are often seen as minor trade-offs for a floor that offers total peace of mind against scratches, dents, and water damage.
- Rectified Edges: Check that the tiles have perfectly straight, machine-cut edges. This is what allows for minimal grout lines, crucial for mimicking real wood planks.
- Textured Finish: Run your hand over the tile. A quality product will have a texture that aligns with the printed wood grain, rather than being smooth or glossy.
- Pattern Variation: Ask the supplier how many unique “faces” or patterns are in each box. High-quality ranges offer 20 or more to ensure a natural, non-repeating look across the floor.
- Underfoot Feel: Be aware that porcelain is colder and harder than wood. This is a benefit for durability and with underfloor heating, but a noticeable difference in feel.
- Acoustics: In large, open-plan extensions, consider using area rugs to help manage the echo that can result from a hard surface like porcelain.
The Grout Colour Mistake That Makes Floors Look Dirty
You can choose the most beautiful, stain-proof porcelain tile in the world, but if you make the wrong grout choice, the entire floor will look perpetually dirty. The most common mistake homeowners make is choosing a grout colour that is too light (like brilliant white) or too dark in an attempt to hide dirt. A stark white grout in a kitchen creates a high-contrast grid that highlights every crumb and speck of dust. Conversely, a very dark grout can make the floor look busy and dated, and it will show lighter-coloured debris just as easily.
The solution is not about contrast, but about camouflage. The goal is to make the grout lines disappear, allowing the tile pattern to be the star of the show. This is achieved by selecting a grout colour that matches the dominant mid-tone within the tile itself. For a tile with swirls of grey, beige, and cream, a mid-tone grey or warm beige grout will blend seamlessly, hiding everyday dirt and creating a cohesive, monolithic surface.
As one expert from the Tile Factory Direct Installation Guide notes, the strategy is about creating a unified look:
The professional secret is to choose a grout colour that matches the mid-tone found within the tile’s pattern. This colour will blend seamlessly, hide everyday dirt, and allow the tile itself to be the focus, not the grid of lines.
– Tile Installation Expert, Tile Factory Direct Installation Guide
The visual impact of this choice is significant. A floor with well-chosen grout looks cleaner for longer and feels more expansive and luxurious. Paired with non-staining epoxy grout, this approach creates a floor that is as low-maintenance as it is beautiful. One renovation project highlighted that for homeowners, the lack of staining and long-term durability of epoxy far outweighed its higher initial cost, as it created a ‘fit-and-forget’ solution.
How Porcelain Tiles Improve Underfloor Heating Response Times
A common objection to tile flooring is that it feels cold underfoot. While true at ambient temperature, this very property is what makes it an exceptionally good partner for underfloor heating (UFH) systems. The key metric is thermal conductivity—the speed and efficiency with which a material transfers heat. Porcelain’s dense, vitrified body allows it to heat up quickly and transfer that heat directly into the room far more effectively than insulating materials like wood or vinyl. In fact, some analyses show that porcelain can have a significantly higher thermal conductivity than wood-based flooring.
This high conductivity translates into two major benefits for a family home. First, the system has a much faster response time. Instead of waiting 40-50 minutes for the floor to feel warm, a porcelain tile floor can reach a comfortable temperature in as little as 15-20 minutes. This means you can run the heating for shorter periods, saving energy. Second, porcelain is an excellent heat emitter, allowing the UFH system to run at a lower, more efficient temperature while still achieving the desired room warmth. It effectively turns your entire floor into a gentle, efficient radiator.
The table below, based on data from leading manufacturers like Caesar, compares the typical performance of different flooring materials with an underfloor heating system. It clearly shows porcelain’s advantage in speed and efficiency.
| Material | Heat-up Speed | Maximum Heat Output (W/m²) | Heat Retention |
|---|---|---|---|
| Porcelain Tile | Fast (15-20 mins) | 150-180 | Excellent |
| Engineered Wood | Moderate (30-40 mins) | 70-100 | Good |
| LVT | Slow (40-50 mins) | 60-80 | Fair |
A technical analysis from Caesar confirms that the thermal conductivity of porcelain tile is approximately 1.3 W/mK, significantly higher than wood, which often sits around 0.15 W/mK. This is why, as shown in the table, porcelain can handle a much higher heat output from the UFH system, as demonstrated by this comparative performance analysis.
Matt vs Gloss Cabinets: Which Is Easier to Clean with Kids?
Choosing a floor is only part of creating a practical kitchen. The finish of your cabinets plays an equally important role in the daily battle against fingerprints, smudges, and spills. The choice between matt and gloss finishes is a classic design dilemma, and the answer isn’t as straightforward as it seems, especially in a household with children. Each finish has its own distinct advantages and disadvantages when it comes to cleaning.
Glossy cabinets are completely non-porous. This means that even sticky or greasy marks sit on the surface and can be wiped away effortlessly with a damp cloth, leaving no trace. Their major downside, however, is that their reflective surface shows every single fingerprint and smudge, especially on darker colours. Matt finishes, particularly high-quality ones with a smooth, velvety texture, are far better at hiding everyday smudges and fingerprints. They provide a softer look that is less prone to showing minor imperfections. The trade-off is that their micro-texture can be more challenging to deep-clean. A greasy mark that is left to sit may be harder to remove than from a gloss surface.
As a leading Kitchen Design Specialist explains, it’s a balance between initial appearance and deep-cleanability:
Glossy surfaces show every single fingerprint but are non-porous and wipe clean effortlessly. High-quality matt surfaces hide smudges better initially but can be more difficult to deep-clean if greasy marks penetrate their micro-texture.
– Kitchen Design Specialist, Professional Kitchen Design Guide
Your choice of porcelain floor can also influence this decision. A floor with a bold, dramatic pattern might create distracting reflections in high-gloss cabinets. A more subtle, stone-effect matt tile, on the other hand, might pair beautifully with the soft, diffused look of matt cabinetry. The best approach is to test samples of your preferred cabinet finish against your chosen floor tile in your kitchen’s specific lighting conditions.
- Consider Floor Reflections: A bold, patterned porcelain floor will create strong reflections in gloss cabinets. A matt floor pairs more quietly with either finish.
- Test with Stains: Get sample doors and test them with common household culprits like jam, crayon, and greasy fingerprints to see how easily they clean.
- Check for ‘Burnishing’ on Matt: On lower-quality matt finishes, repeated rubbing can polish or ‘burnish’ the surface, creating shiny spots. Test this on a sample.
- Factor in Lighting: Glossy cabinets amplify both natural and artificial light, which can make a space feel bigger and brighter, while matt finishes create a more subdued, contemporary feel.
Solid Oak vs Engineered Oak: Which is Safe for Underfloor Heating?
For those considering underfloor heating but still drawn to the warmth of wood, the choice between solid and engineered oak is critical. While both offer a similar aesthetic, their internal structure makes them behave very differently when subjected to the constant temperature fluctuations of a UFH system. Solid oak is exactly what its name implies: a single, solid plank of wood. When heated and cooled, the entire plank expands and contracts, which can lead to warping, cupping, and unsightly gaps appearing between the boards over time.
Engineered oak, by contrast, is constructed in layers. It has a top layer of real oak (the wear layer) bonded to a core of multiple layers of plywood or similar material, with the grain of each layer running in a different direction. This cross-layered construction provides immense dimensional stability, preventing the plank from expanding or contracting significantly with changes in temperature and humidity. For this reason, virtually all manufacturers will certify engineered wood for use with UFH, while warning against using solid wood.
However, even engineered oak is not as efficient a partner for UFH as porcelain. Wood is a natural insulator. This means the UFH system must work harder and run at a higher temperature to push heat through the wood and into the room. A long-term study cited by This Old House highlighted the risks and inefficiencies. The study found that over five years, solid oak installations with UFH experienced warping in 73% of cases. While engineered oak remained stable, all the wood installations required the heating system to work approximately 35% harder to achieve the same room temperature compared to adjacent porcelain tile installations. This makes porcelain the clear winner for both stability and energy efficiency.
Key takeaways
- Porcelain is an Engineered System: True durability comes from combining non-porous tile, non-staining epoxy grout, and professional installation.
- Grout Colour is Crucial: Match grout to the tile’s mid-tone colour to hide dirt and create a seamless, high-end look. Avoid high-contrast white or black.
- Superior UFH Performance: Porcelain’s high thermal conductivity means faster heat-up times and greater energy efficiency compared to wood or LVT.
Herringbone vs Chevron: Which Parquet Style Suits a Modern Extension?
Parquet flooring has seen a massive resurgence, and thanks to wood-effect porcelain, these timeless patterns can now be used in demanding areas like kitchens without fear of damage. The two most popular styles are Herringbone and Chevron. While often confused, they create very different visual effects, and the choice between them can significantly impact the feel of a modern extension. The key difference is in the cut of the plank. Herringbone uses rectangular planks laid at a 90-degree angle to one another, creating a broken, interlocking zig-zag pattern. This pattern has a more traditional, textured feel that adds a sense of movement and history to a space. It’s excellent for adding warmth and visual interest to a minimalist or stark modern room.
Chevron, on the other hand, uses planks cut at an angle (typically 45 or 60 degrees). When laid, these angled ends meet to form a perfect ‘V’ shape, creating a continuous, arrow-like pattern that flows across the floor. This creates strong directional lines that are very effective at making a space feel longer or wider. Its clean, graphic quality often feels more formal and contemporary than Herringbone, making it a perfect fit for a sleek, modern design scheme.
Case Study: Indoor-Outdoor Porcelain Parquet
A recent trend in luxury installations is the use of wood-effect porcelain parquet to create a seamless visual flow from the kitchen directly onto an outdoor patio. By using standard-thickness porcelain tiles in a Herringbone or Chevron pattern indoors, and then continuing the exact same pattern outdoors with a matching 20mm thick paver version of the same tile, designers can completely erase the boundary between inside and out. This creates a stunning, expansive feel in a modern extension, achieving a timeless parquet look in a completely waterproof and frost-proof material—something impossible with real wood.
Ultimately, the choice is aesthetic. Herringbone adds texture and classic charm, while Chevron provides direction and clean, modern lines. With porcelain, you can confidently choose either style for your kitchen, knowing the floor will be as durable as it is beautiful.
By specifying a quality porcelain tile with the right slip rating, pairing it with epoxy grout, and ensuring a professional installation, you are not just choosing a floor covering; you are investing in a high-performance system designed for decades of family life. To apply these insights to your own project, the next logical step is to start sourcing samples and consulting with a trusted tile specialist.